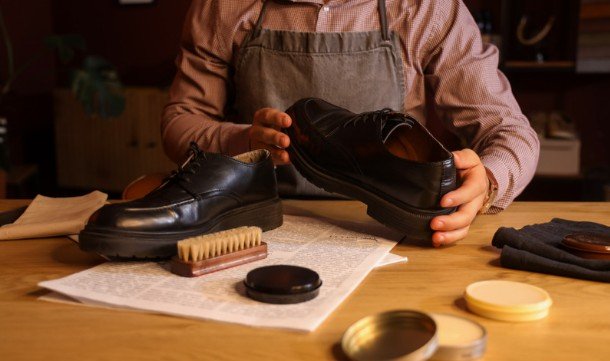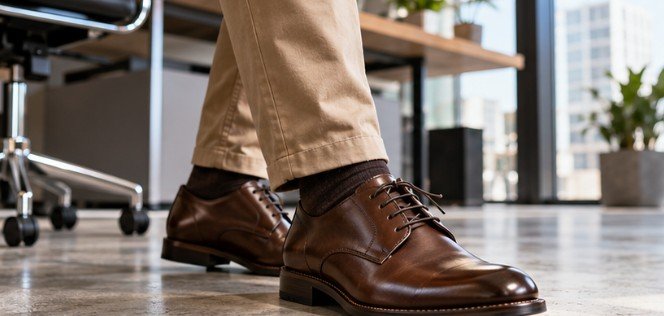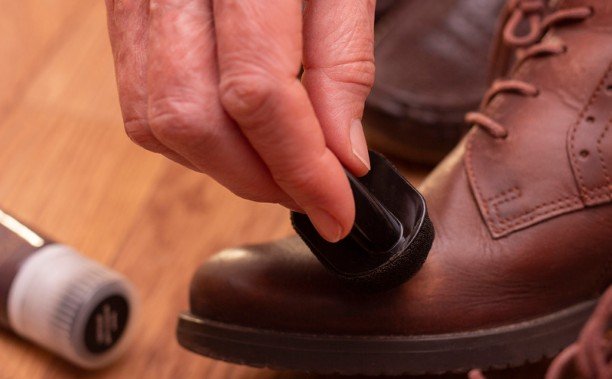
A polished toe can distract me from the narrow dirt line where the upper meets the sole. That overlooked groove can hold grit, dried mud, and old cream, making otherwise tidy shoes look unfinished. When considering how to clean leather shoe welts and stitching, I favor controlled brushing and minimal moisture. The goal is to remove buildup while preserving the leather finish and thread color.
Start with a dry detailing brush, use a compatible cleaner only where needed, remove residue, and let everything dry naturally. Keep cleaning separate from recoloring or repairing the edge.
Identify the Welt Before You Start
The welt is a narrow strip around the shoe’s perimeter that forms part of certain stitched constructions. Its visible surface sits near the junction of the upper and outsole. Exposed stitching may run across it, while the sole edge lies below.
Not every shoe has a genuine leather welt. Some have synthetic strips or decorative stitching. Check the manufacturer’s construction and care information before applying conditioner or wax.
Inspect the Thread and Surrounding Leather
Look for loose stitches, fraying, cracks, or a gap between components. Cleaning cannot repair these problems. If the brush catches a loose thread, stop rather than pulling it. Also identify the upper material. Smooth finished leather, suede, patent leather, and delicate hand-colored finishes require different care. A product suitable for one may mark another.
Choose Tools That Reach the Groove
Prepare a clean, soft toothbrush or small welt brush, two lint-free cloths, cotton swabs, and a cleaner approved for your shoe material. A narrow brush gives better control than a large polishing brush.
Reserve one brush for removing dirt and another for applying care products. A brush carrying dark polish can transfer pigment onto pale stitching. Avoid metal picks and wire brushes. Their precision does not compensate for the risk of scratching leather or snagging thread. Test any cleaner on an inconspicuous area and allow it to dry before assessing color changes.
How to Clean Leather Shoe Welts and Stitching Step by Step
Brush Away Loose Dirt First
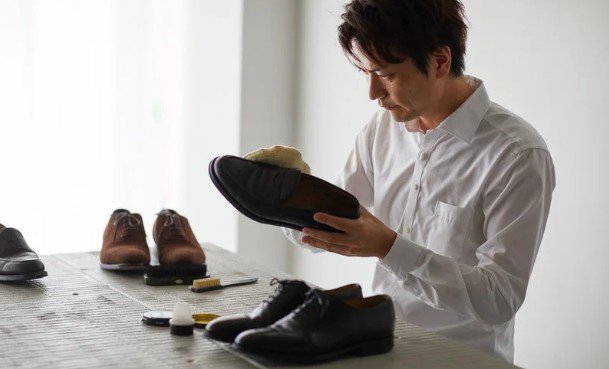
Support the shoe firmly and work around its perimeter with short, gentle strokes. Angle the bristles toward the groove to lift debris outward.
Remove dust and dry grit before introducing moisture. Otherwise, loose particles become muddy residue that spreads across the thread. If mud remains wet, blot excess moisture and let it dry before brushing gently.
Do not press harder simply because a mark remains. Persistent discoloration may be staining rather than removable dirt.
Clean Remaining Grime With Minimal Moisture
For suitable finished leather, lightly dampen a cloth or brush according to the cleaner’s instructions. Apply a small amount of compatible product to the tool rather than pouring it into the seam.
Work on a short section, gently agitating visible grime. Keep the brush barely damp. Flooding the groove makes moisture and residue harder to remove.
Use a cotton swab for narrow spots, changing it when dirty. Keep cleaner away from suede uppers unless specifically approved for them.
Remove Residue and Dry Naturally
Lift loosened dirt with a clean cloth. If the cleaner requires wiping off, follow its directions with a lightly dampened cloth, then blot dry.
Leave the shoes at room temperature with airflow. Avoid heaters, hair dryers, and direct sunlight. Wait until the cleaned area is fully dry before adding care products or wearing the shoes.
Protect White and Contrasting Stitching
When you care for leather shoes worn regularly, light thread needs extra attention because colored cream and edge dressing can stain it. Use clean tools, small quantities, and precise application.
Neutral products avoid adding colored pigment, but they may still alter appearance, so patch-test them too. Keep pigmented polish on the intended leather surfaces.
If thread has already absorbed dark polish, gentle cleaning may improve it without restoring its original shade. Avoid bleach, acetone, and aggressive scrubbing near leather. A cobbler can assess persistent staining without encouraging repeated home treatment.
Handle Polish Buildup and Edge Damage Separately
A dull, crusty line may be accumulated cream or wax. Start with gentle brushing, then consider a compatible cleaner approved for removing that product.
Do not mistake a scuffed sole edge for dirty stitching. Edge dressing changes color; it does not remove dirt. Likewise, sanding belongs to restoration, not routine seam cleaning.
Condition only genuine leather components when appropriate for the shoe and product. Apply thinly, remove excess, and avoid saturating exposed thread. More conditioner does not mean better protection.
Frequently Asked Questions
1. Can I use a toothbrush?
Yes. Choose a clean, soft toothbrush and use light pressure. Keep it separate from brushes used for colored polish.
2. How often should I clean the seam?
Brush away visible dust after wear. Use damp cleaning when grime persists, rather than deep-cleaning on a fixed schedule.
3. Can I use saddle soap?
Only if the shoe manufacturer and product instructions permit it. It is unnecessary for routine dust removal.
4. What is the safest approach to how to clean leather shoe welts and stitching?
Identify the materials, dry-brush first, patch-test compatible cleaner, limit moisture, and stop if thread frays or the finish changes.
My Final Take
I treat the welt as a detail that rewards patience. Gentle cleaning keeps the seam neat without turning minor grime into damaged thread or stained leather. I start with dry brushing and add cleaner only when visible dirt remains. Keeping separate brushes for cleaning and polishing helps me protect contrasting stitches.
I use minimal moisture and let the seam dry naturally before applying any care product. If a stain persists, I resist scrubbing harder just to chase a perfect finish. Loose threads or widening gaps are signs I would leave to a cobbler. For me, regular light care is easier than tackling months of trapped dirt and polish.